


Understanding Roof Flashing | Roofing University
What Is Roof Flashing?
Flashing is the thin metal or waterproof barrier hat seals joints, seams, and weak spots on a roof — basically, all the places water wants to sneak in.
You’ll find it around chimneys, vents, valleys, skylights, and walls — anywhere two materials meet.
Its job is simple: redirect water away from the structure and toward the gutters before it can get under your shingles or panels.
Without proper flashing, even a brand-new roof will leak.

"If your lines aren’t straight, nothing else will be. Check your layout twice before you mark it, and the whole job will go smoother."
Why Flashing Matters
Roofing systems expand, contract, and shift with temperature and time. Flashing takes that movement and keeps things sealed.
If flashing is missing, bent, or sealed with the wrong material, you’ll start seeing:
Soft decking
Rotting fascia
Water stains inside the attic
Mold, and in worst cases, structural damage
It’s not just about stopping leaks — flashing keeps your reputation intact.

Common Places You’ll Find Flashing
You’ll see flashing in several key areas of almost every roof system:
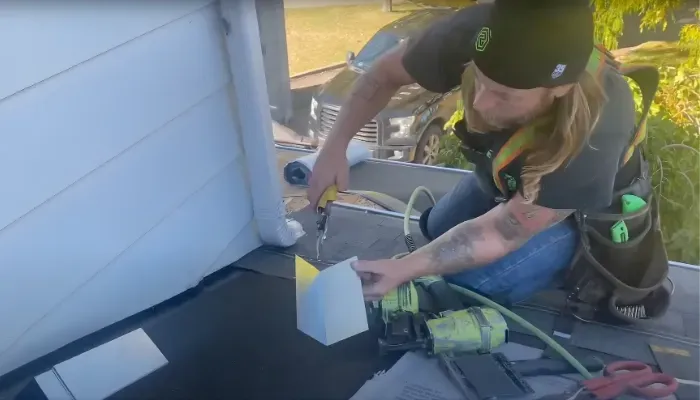
Chimney flashing: metal bent and layered around the base of the chimney.
Valley flashing: runs under shingles where two slopes meet.
Step flashing: installed where the roof meets a wall or dormer.
Drip edge: flashing at the roof edge that keeps water from curling under.
If you’re checking a roof for leaks, start with those areas first — they’re almost always the culprit.

Common Flashing Mistakes
Most leaks come down to flashing mistakes, not bad shingles.
Here’s what rookies get wrong:
Using caulk instead of metal (sealant is not a fix for poor flashing).
Leaving gaps or overlaps too short.
Burying flashing under siding instead of tucking it properly.
“Flashings don’t just stop leaks. They show whether you actually know what you’re doing. A bad flashing job is like signing your name on a mistake.”
Proper Installation Tips
Flashing doesn’t need to be complicated — it just needs to be tight, layered, and logical.
Always start from the bottom up.
Overlap each piece so water can shed naturally (like shingles).
Never rely on sealant alone; metal should do the work.
Use corrosion-resistant material: aluminum, steel, or copper depending on the roof type.
A good installer makes flashing disappear — it’s neat, aligned, and watertight.
When to Repair or Replace Flashing
If you see rust, lifted edges, or dried-out sealant, it’s time for maintenance.
On older roofs, sometimes flashing can be reused if it’s solid, but most of the time it’s smarter to replace it when re-roofing.
Don’t gamble with flashing — it’s the cheapest part of the roof that prevents the most expensive damage.

Learn It the Right Way
Flashing separates roofers from repairmen. Anyone can nail shingles — but not everyone can build a system that keeps water out for decades.
If you want to learn how to do it right, join the next Roofing University hands-on class with Josh Bigger @Best.Damn.Roofer and see exactly how the pros seal, layer, and lock flashing on real demo roofs.
