


How to Measure a Roof Like a Pro: Tips for Accuracy and Speed
Whether you’re estimating materials or training at a roofing school, learning how to measure a roof properly is one of the most valuable skills you can master. Accurate roof measurement saves time, prevents waste, and keeps you safe on the job.
Below, we’ll break down how to measure a roof step by step using the same process professional roofers use.
TL;DR
To measure a roof like a pro, start by sketching the ground footprint, record each roof section’s length and width, calculate the pitch, then multiply for total surface area. Always double-check your math and use a roofing calculator or drone for accuracy.
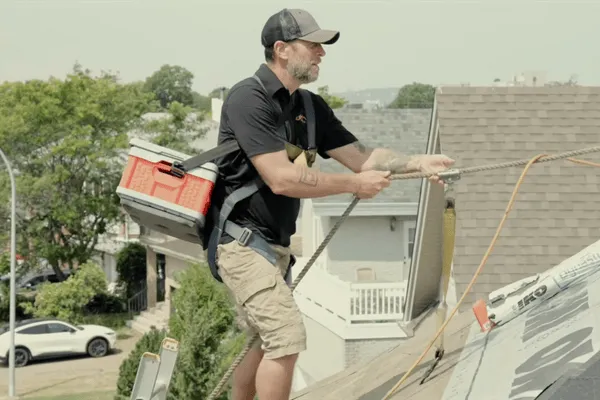
Before climbing a ladder, make sure you have:
📏 Measuring tape or laser distance tool
📱 Pitch gauge app or smartphone level
🧮 Roofing calculator (to convert area into bundles or panels)
🪜 Ladder and safety harness
📓 Notebook or Roofing University measurement sheet
Pro Tip: Use gloves with grip, and never measure alone if you’re new to roofing.
Start from the ground and trace the house footprint.
Measure the length and width of each section.
Sketch a top-down view so you can label sections later.
Measure dormers or extensions separately.
💡 Pro Tip: Always double-check your roof measurements. A 1-foot error across multiple planes can throw off your material estimate quickly.

Your roof pitch tells you how steep the roof is — and affects total surface area.
Use a pitch gauge or level and ruler.
Measure the rise (vertical) over a 12-inch run (horizontal).
Example: A 6/12 pitch means the roof rises 6 inches for every 12 inches horizontally.
You can also find the pitch from the ground using a smartphone app or drone photos.

Once you’ve measured each section and found the pitch:
Multiply length × width for each section’s base area.
Apply your pitch multiplier (for example, 6/12 pitch = 1.12 multiplier).
Add up all sections to get total roof square footage.
Divide by 100 to calculate total roofing squares.
Use a roofing calculator to double-check your math or convert into bundles or panels.
Avoid measuring on wet or icy roofs.
When possible, use drone roof measurement tools for faster estimates.
Keep detailed notes and sketches for future jobs.
Practice at your local roofing school or training center to get hands-on experience.
Accurate roof measurement ensures:
Correct material orders and cost estimates
Safer installs with fewer trips to the supplier
Professional confidence when quoting jobs
At Roofing University, we teach how to measure a roof using both traditional methods and digital tools, helping new roofers build solid fundamentals.
Measuring a roof accurately is one of the most important skills a roofer can master. Whether you’re starting out or refining your craft, taking the time to learn proper techniques will save you money, reduce waste, and build trust with clients. Keep practicing, keep learning, and you’ll keep improving.
